The purpose of setting intentions for me is to help feel more in control and more grounded to the directions I want to go in my life. I have noticed that many people set intentions for the new year around this time. Since I am a child and family therapist I was curious to learn how to engage children in this activity. I decided to do a little research to further understand how to set intentions and determine some of the guidelines. Much of what I learned did not offer ways to engage kids so I decided that I would create an activity that I could add to my own practice because children need to feel more in control too. However, I also realized that there are different ideas and thoughts around what it means to set intentions. So first let me speak a little about what this means to me.
Setting intentions is like a goal but with less pressure. I can think of it like a to do list for my soul or a guideline for my humanity. I might think of an image of what I hope to become. Sometimes the image becomes a short script in my head of how I want to heal from emotional pain or manage highly stressful life situations. Often, I will review a past experience to consider what I want to do differently. This can often lead me to an intention. I ask myself, for example, if I want more confidence or self-compassion for my life? Will this help me feel more in control and more resilient for any possible stressors that I may encounter?
For children this process might be broken down into smaller activities and combined with an expressive art project to increase engagement. Also, children (and the child in all of us) often need to use their imaginations and creativity to express feelings and access experiences. Children often use nonverbal communication to express feelings and beliefs about the world around them. In addition, the average adult is often expert at hiding pain and vulnerability from the self which may be a block for recognizing their desires and therefore their true intentions for their life. Children and adults can learn from each other when setting intentions through art making.
This past month I practiced setting intentions with a young artist friend (age 8) by making an easy fabric and yarn doll (instructions below). This was an expressive art therapy activity I learned during my training at Northwest Creative and Expressive Arts Institute last year.
The idea to use the doll to set intentions was inspired by one of my cohorts from that training. This year while meeting over Zoom with my young friend, I discovered that during the making of the doll I was creating a symbolic representation of my intention. My doll’s unusual shape became a visual narrative for how to turn a mistake into my intention that I then modeled during the process of creating. In other words, I showed my young artist friend how the making of the doll helped me verbalize the intention I wanted to set.
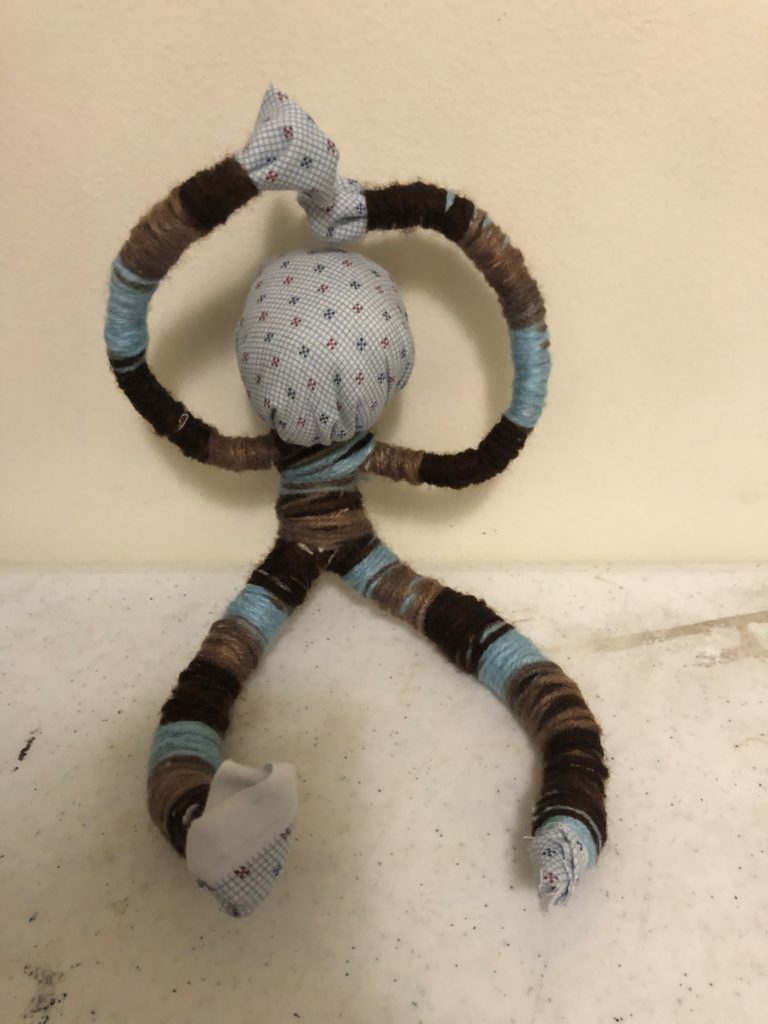
At the start of the doll making activity, I had many thoughts swirling around about what intention I wanted to set. I was feeling slightly overwhelmed with all the possibilities and ideas. While I was showing my little artist friend how to make the doll I found that I made one arm much longer than the other. I showed her my “mistake” but realized how this symbolized the intention that I wanted to set. I expressed to my friend that the long arm would be the one that reaches out while the short one will be close to the chest with the hand resting on the heart. This will symbolize my intention for the year to both reach out to others and hold onto my heart’s needs.
It was soon after that my young artist friend showed me an aspect of her doll. And not long after that she was able to verbalize her intention for herself for 2021. Before ending our Zoom session we discussed how she could add to the doll and keep working on it on her own. I look forward to seeing her project’s progression next time we meet.
Possible Outcomes for Doll making and setting intentions:
Fun and enjoyment
Familial Connection
increase in self awareness and expression
Increase in a sense of control.
Increase in accepting “mistakes”
Increase in adaptability to plans being altered or changed.
Increase in letting go of need for perfection
Increase in creative thinking and problem solving.
For your own Intention setting and Doll making experience please read below:
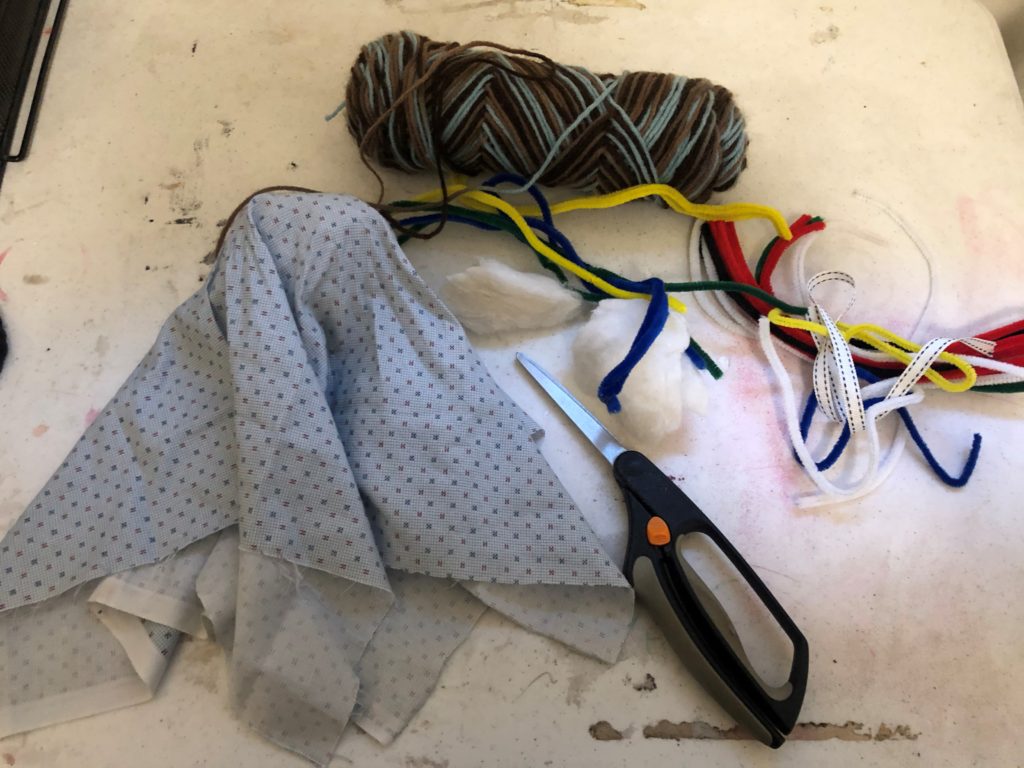
Supplies for making doll (This is only one type. I will offer other resources for other types of dolls)
Yarn (you need at least as much as you would need to make a knit cap)
Fabric (linen or cotton works well.) A small 10×10 square is enough.
Anything that you want for your doll that is available.
These are optional prompts to start help inspire you and your child if needed:
Possible Prompt: “Make a doll that shows you who you are or who you wish to become”.
Variation: “Make two dolls, one for who you are and one for who you wish to become.”
Variation: “Make a doll that shows you a feeling you have difficulty expressing.”
Below are instructions for making a doll base or the start of the doll human-esque shape. This is one type of doll that I learned and taught to my young artist friend. However, feel free to use any other options that appeal to you. At the end of the post a give a few additional resources for doll making.
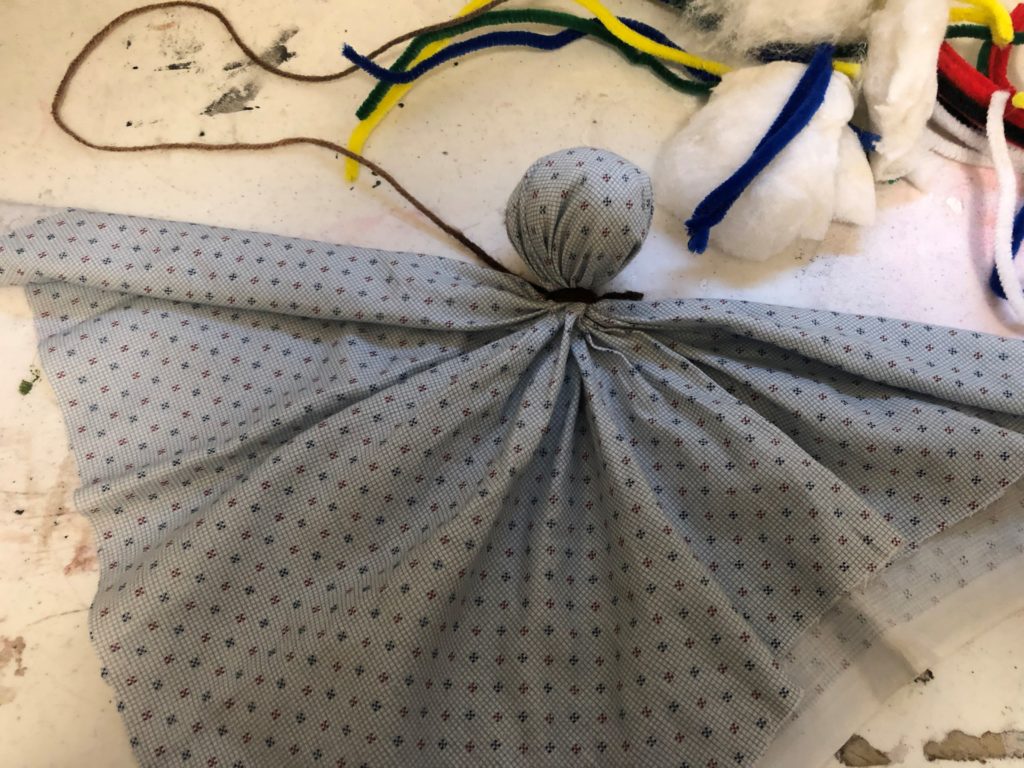
Start with gathering supplies. You can use stuffing for the head from a discarded pillow.
Next, make the head by tying the head with yarn or you can use a piece of pipe cleaner.
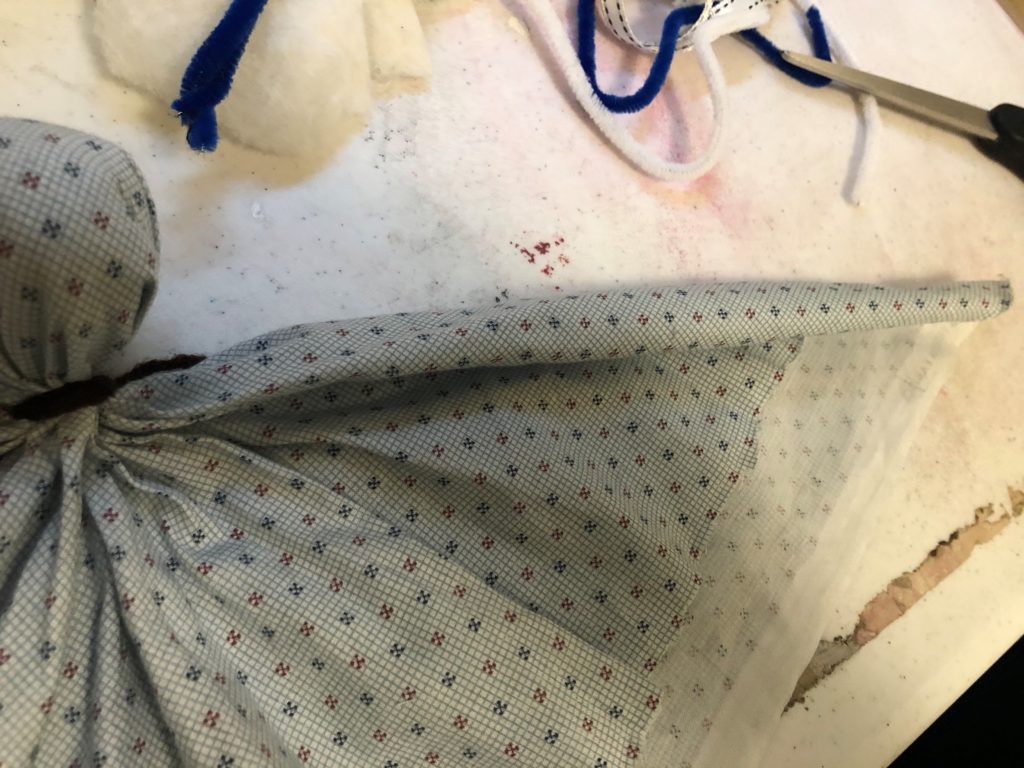
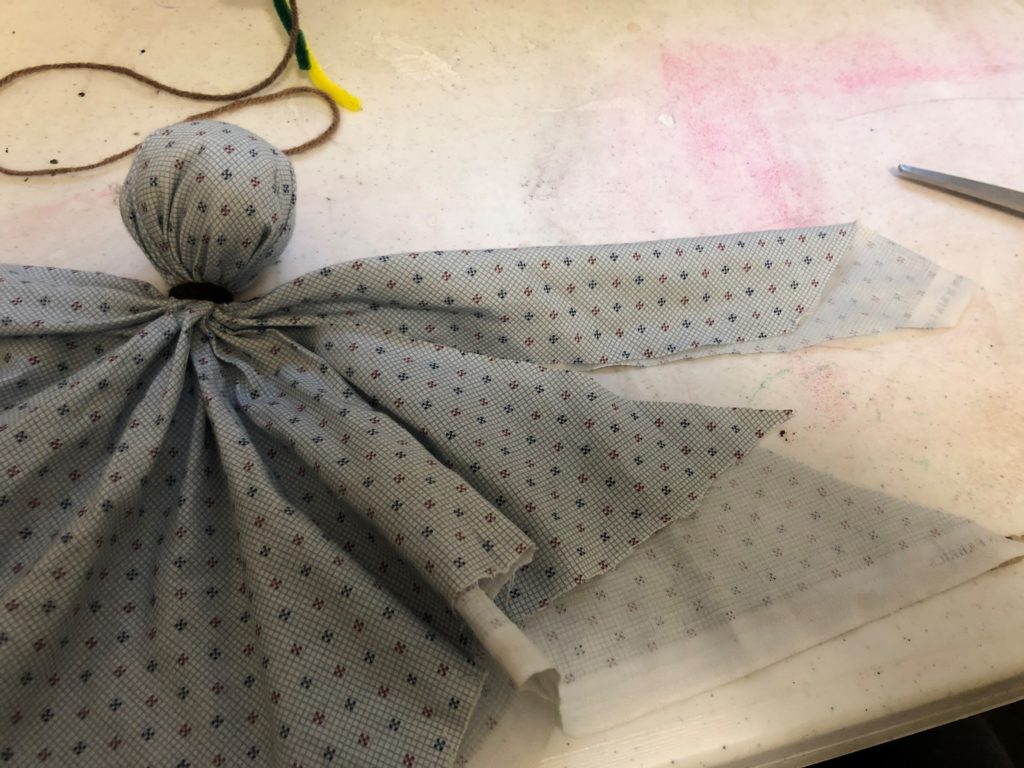
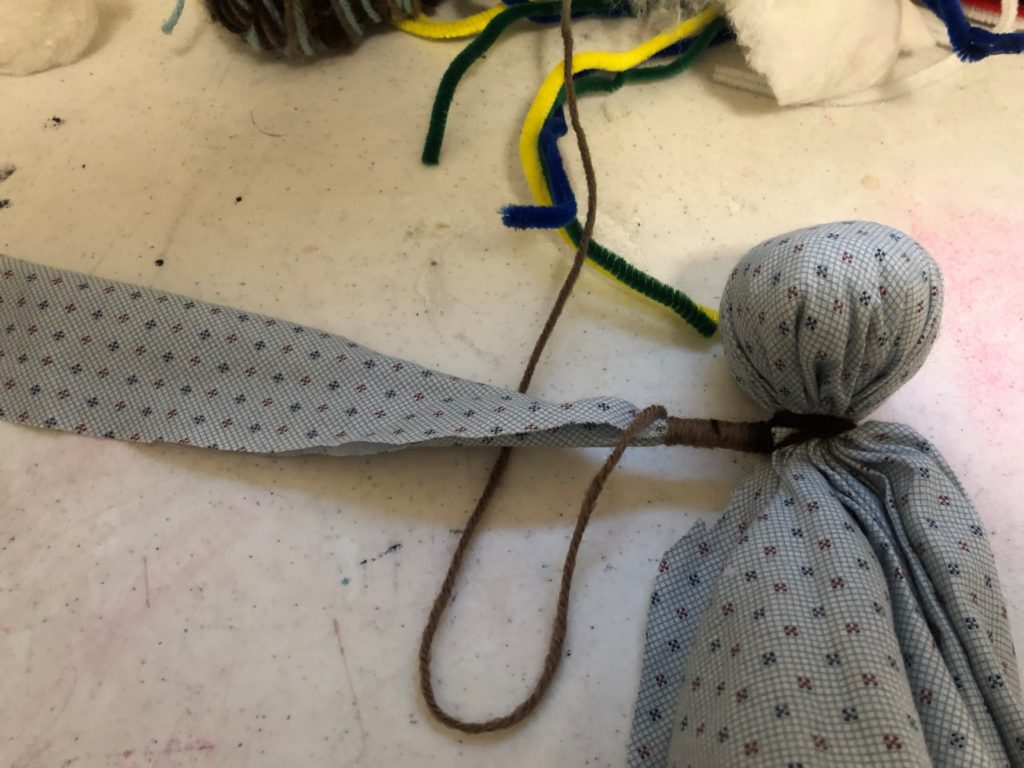
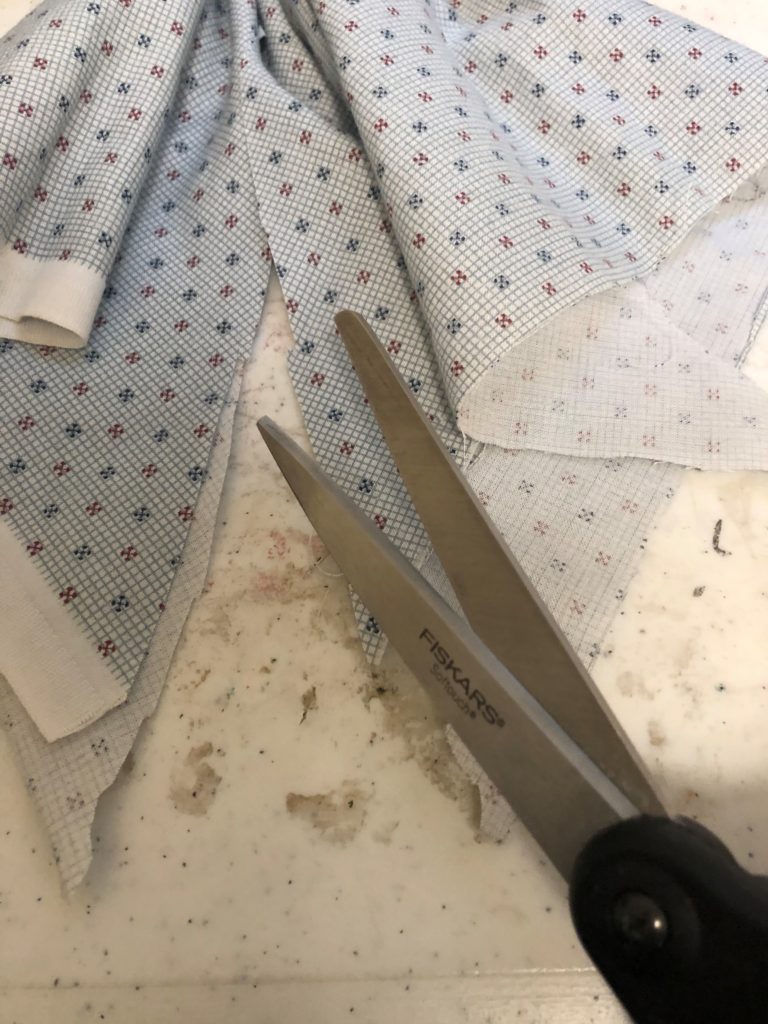
Next step is to make the arms. You can cut the yarn to tie off head. Then take fold and line it up or fold again(optional). The amount of fabric used will determine arm thickness.
Here is the cut that makes the arm. Cut all the way to the next but make sure to leave uncut fabric in the middle to you don't end up cutting your head off. AH!
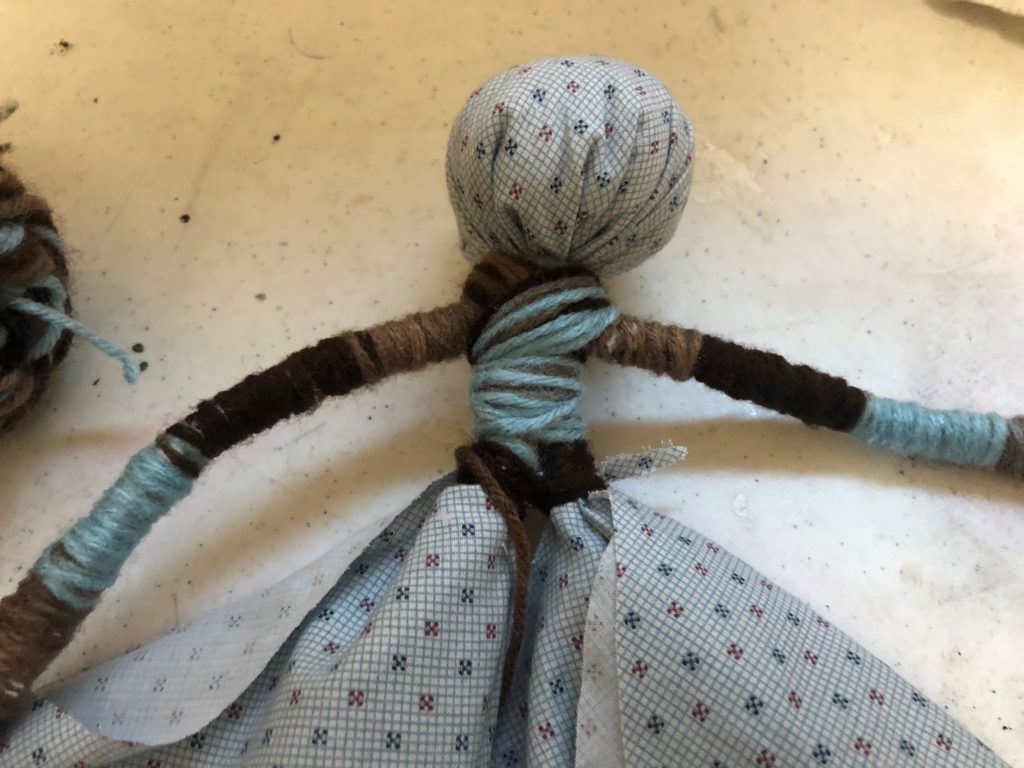
Here I used the yarn that is still attached to yarn roll and started winding it around to make a solid arm. This is also where you can start using your own preferences and problem solving skills.
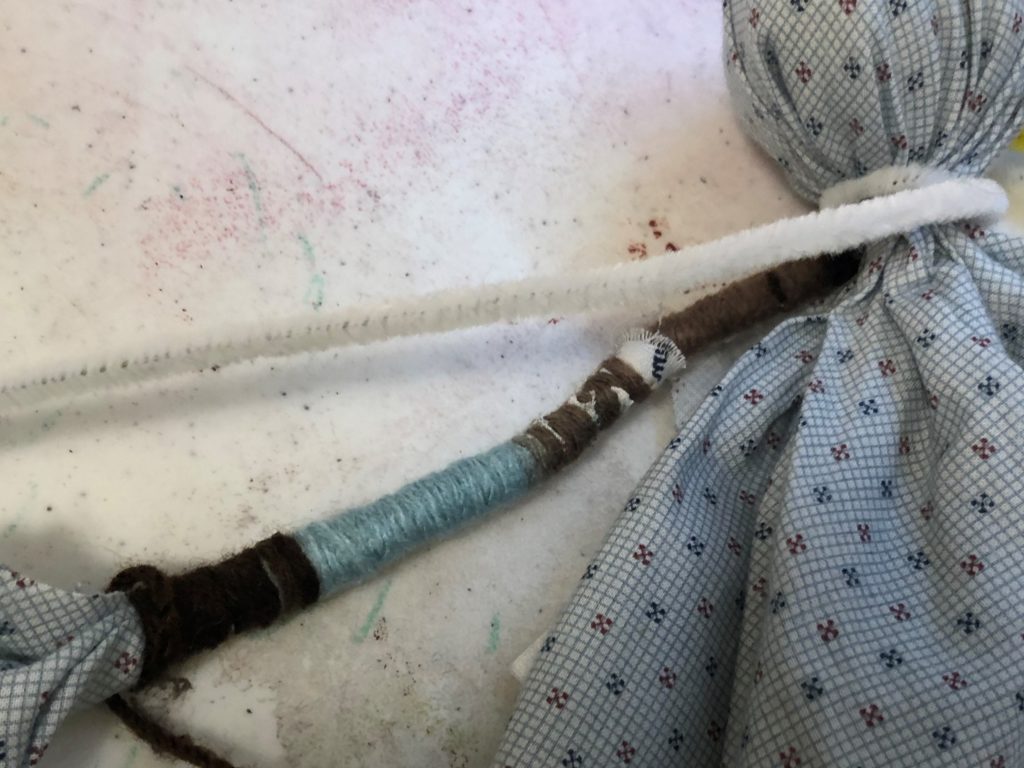
Here I am attaching a pipe cleaner after I get to the end of arm with yarn. Then I wound the yarn around the pipe cleaner and the arm back towards the head. Note: The fabric may be longer than you want for your arm. You can fold or cut the fabric. Use your own style and creativity.
Note: You don't have to use pipe cleaner at all. Try out your own ideas if you want. AND remember "mistakes" are often there to help you in using your own imagination.
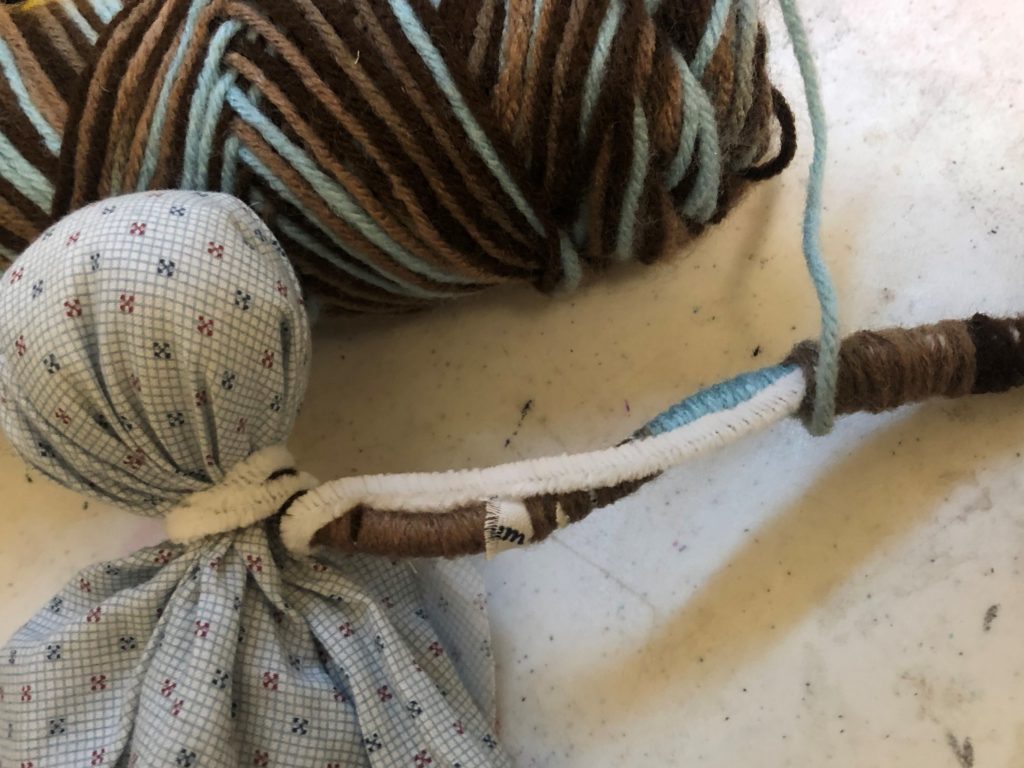
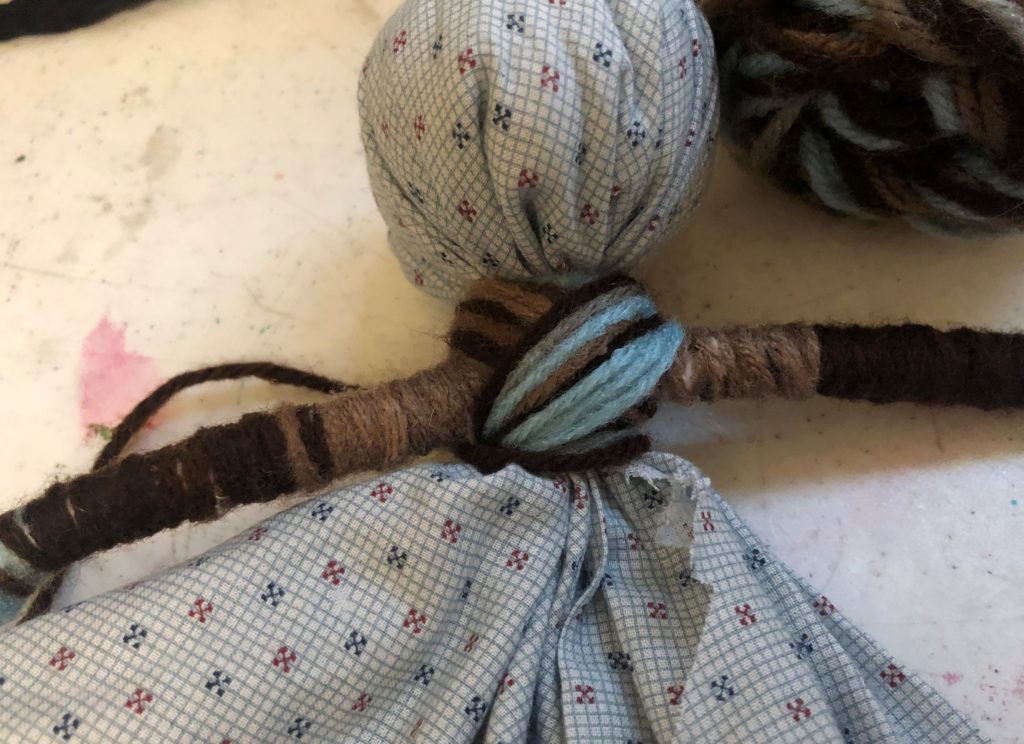
Here I have made the second arm. Then I made a chest by doing a figure 8 around the arm and across the chest. This is optional and something I found I liked after doing it the first time. Note: Use your ideas. There is no wrong way to make your doll.
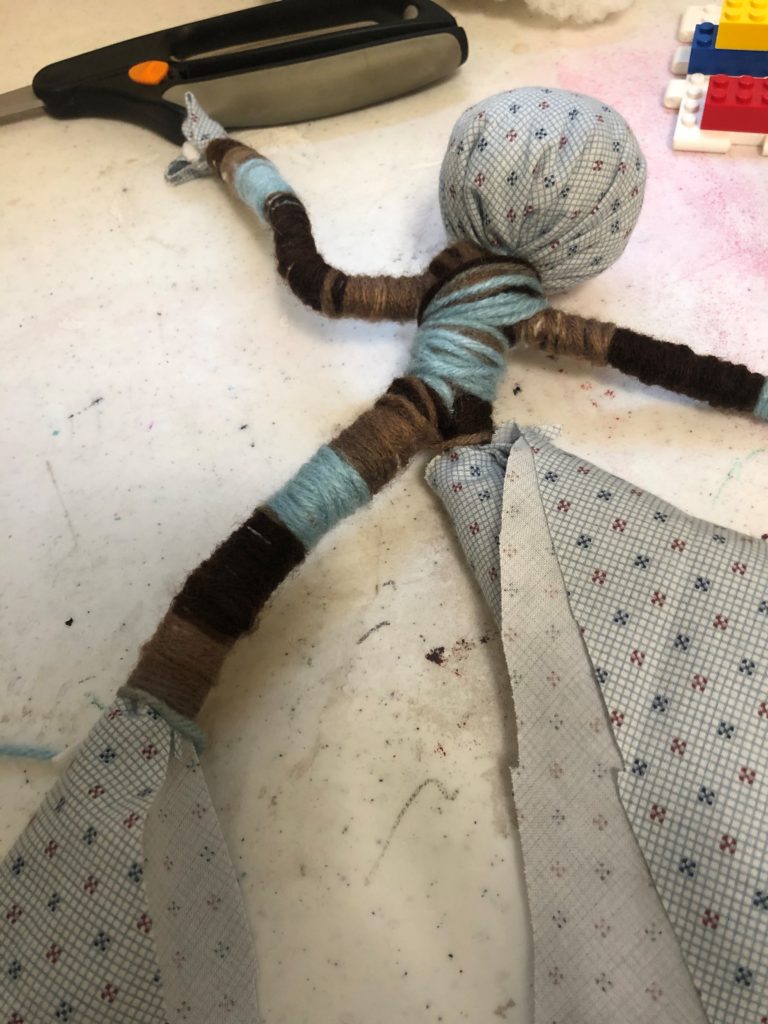
I decided to make some legs by gathering the fabric evenly on both sides and cutting in the middle. This might look different for you depending on the shape of your fabric. Note: if doesn't look like mine that does not mean it is wrong. Your doll is unique like you.
At this stage I have decided to make the torso long and skinny but I may cover it will fabric later or add more yarn.
Making the leg is similar to making the arm but I before I started the leg I did a figure 8 with yarn to make a pelvis. After making the one leg I wound a piper cleaner around the torso and then wound the yarn back up the leg towards the pelvis. And repeated actions with the second leg. I did decide to fold the fabric for the feet. Again this was my style and my preferences. Choose
This is the doll starter. Now is the time you really make the doll your own. It doesn't have to all be completed in one day. And like your intentions for the year you might add and alter to fit your mood and your motivation level. Perhaps you haven't figured out what your intention is yet. That is okay too. Take a step back and look at your doll. You have all year.